3d character rigging and animation is where most character projects either stay smooth… or start hurting. If you’ve ever watched a “pretty” model fall apart in motion (weird shoulders, sliding feet, stiff face) and suddenly every small change turns into a revision spiral, that’s usually a rigging problem, not an animation problem.
Key takeaways
- Rig quality shows up fastest in faces, hands, shoulders, and feet.
- 2D rigging is speed + style; 3D rigging is anatomy + believability.
- Weight painting and deformation decide whether motion feels natural.
- FK/IK choices affect posing, contact, and revision speed.
- Early testing catches the expensive problems before animation ramps up.
2D vs 3D rigging
Before you pick a style, it helps to know what each rig type is built to do. This section sets the baseline so you can match the approach to your real production needs.
Core differences between 2D and 3D rigs
2D rigging focuses on layered artwork, bones, and simple meshes for limited animation.
In 2D animation pipelines, characters are typically built from layered illustrations. Rigs control how these layers rotate or move, allowing animators to create motion without redrawing every frame.
3D rigging mirrors real anatomy and physics, including joint limits and complex face systems.
3D rigs are closer to real skeletal structures. Animators rely on joints, constraints, and facial systems to create believable movement and expression.
Small errors in 3D rigging are more obvious, making believability hinge on accurate deformation.
Because 3D characters simulate real physical motion, even small rigging mistakes such as collapsing elbows or twisting shoulders, can break the illusion of realism.
What rigging is and where it’s used
Rigging is what gives rigged models real life. It connects the character’s geometry to controls animators can use, so movement stays consistent even after lots of adjustments.
The role of rigging in animation production
Rigging is the most common technique for animating characters, creatures, or other objects in film, TV, and games.
Most pipelines rely on skeletal animation, where bones drive the model so the head, neck, spine, and leg move in a stable scale. For faces and tricky bends, teams add blend shapes (or shape keys) in combination with the skeleton to keep deformations clean.
Rigging also matters in real-time work like Unreal Engine, because the rig has to survive export and still behave predictably. According to Vancouver Film School (2025), riggers build the control systems animators rely on to pose and animate characters.
In reviews, I do a fast brief introduction test like: pose the spine, turn the head/neck, then run a quick walk cycle. If that basic practice already shows sliding, weird shapes, or unstable controls, it’s a sign the rig needs fixes before animation ramps up.
Learning 3D Character Rigging
If you’re learning this for real, the fastest progress usually comes from doing small things consistently, not binge-watching tutorials and hoping it sticks. Rigging is one of those skills where your hands need reps.
The best way to learn 3D rigging is to start by creating simple rigs and experimenting with different techniques and controls. Courses often provide structured learning paths that gradually increase in difficulty, introducing core concepts in detail.
Practical exercises are essential for internalizing the workflow of rigging and animation. Learning from experienced animators and riggers is important to ensure correct information is received during the learning process.
Courses often provide access to resources and support through forums to help resolve doubts during the learning process. Rigging is used in video games, animated films, visual effects in live-action, and augmented reality/virtual reality.
How rigging works
If you’ve ever wondered why animation can’t just start right after modelling, this is why. A rig is the “inside” of the character, and without that structure, you’re basically trying to animate a statue.
The skeleton behind animated characters
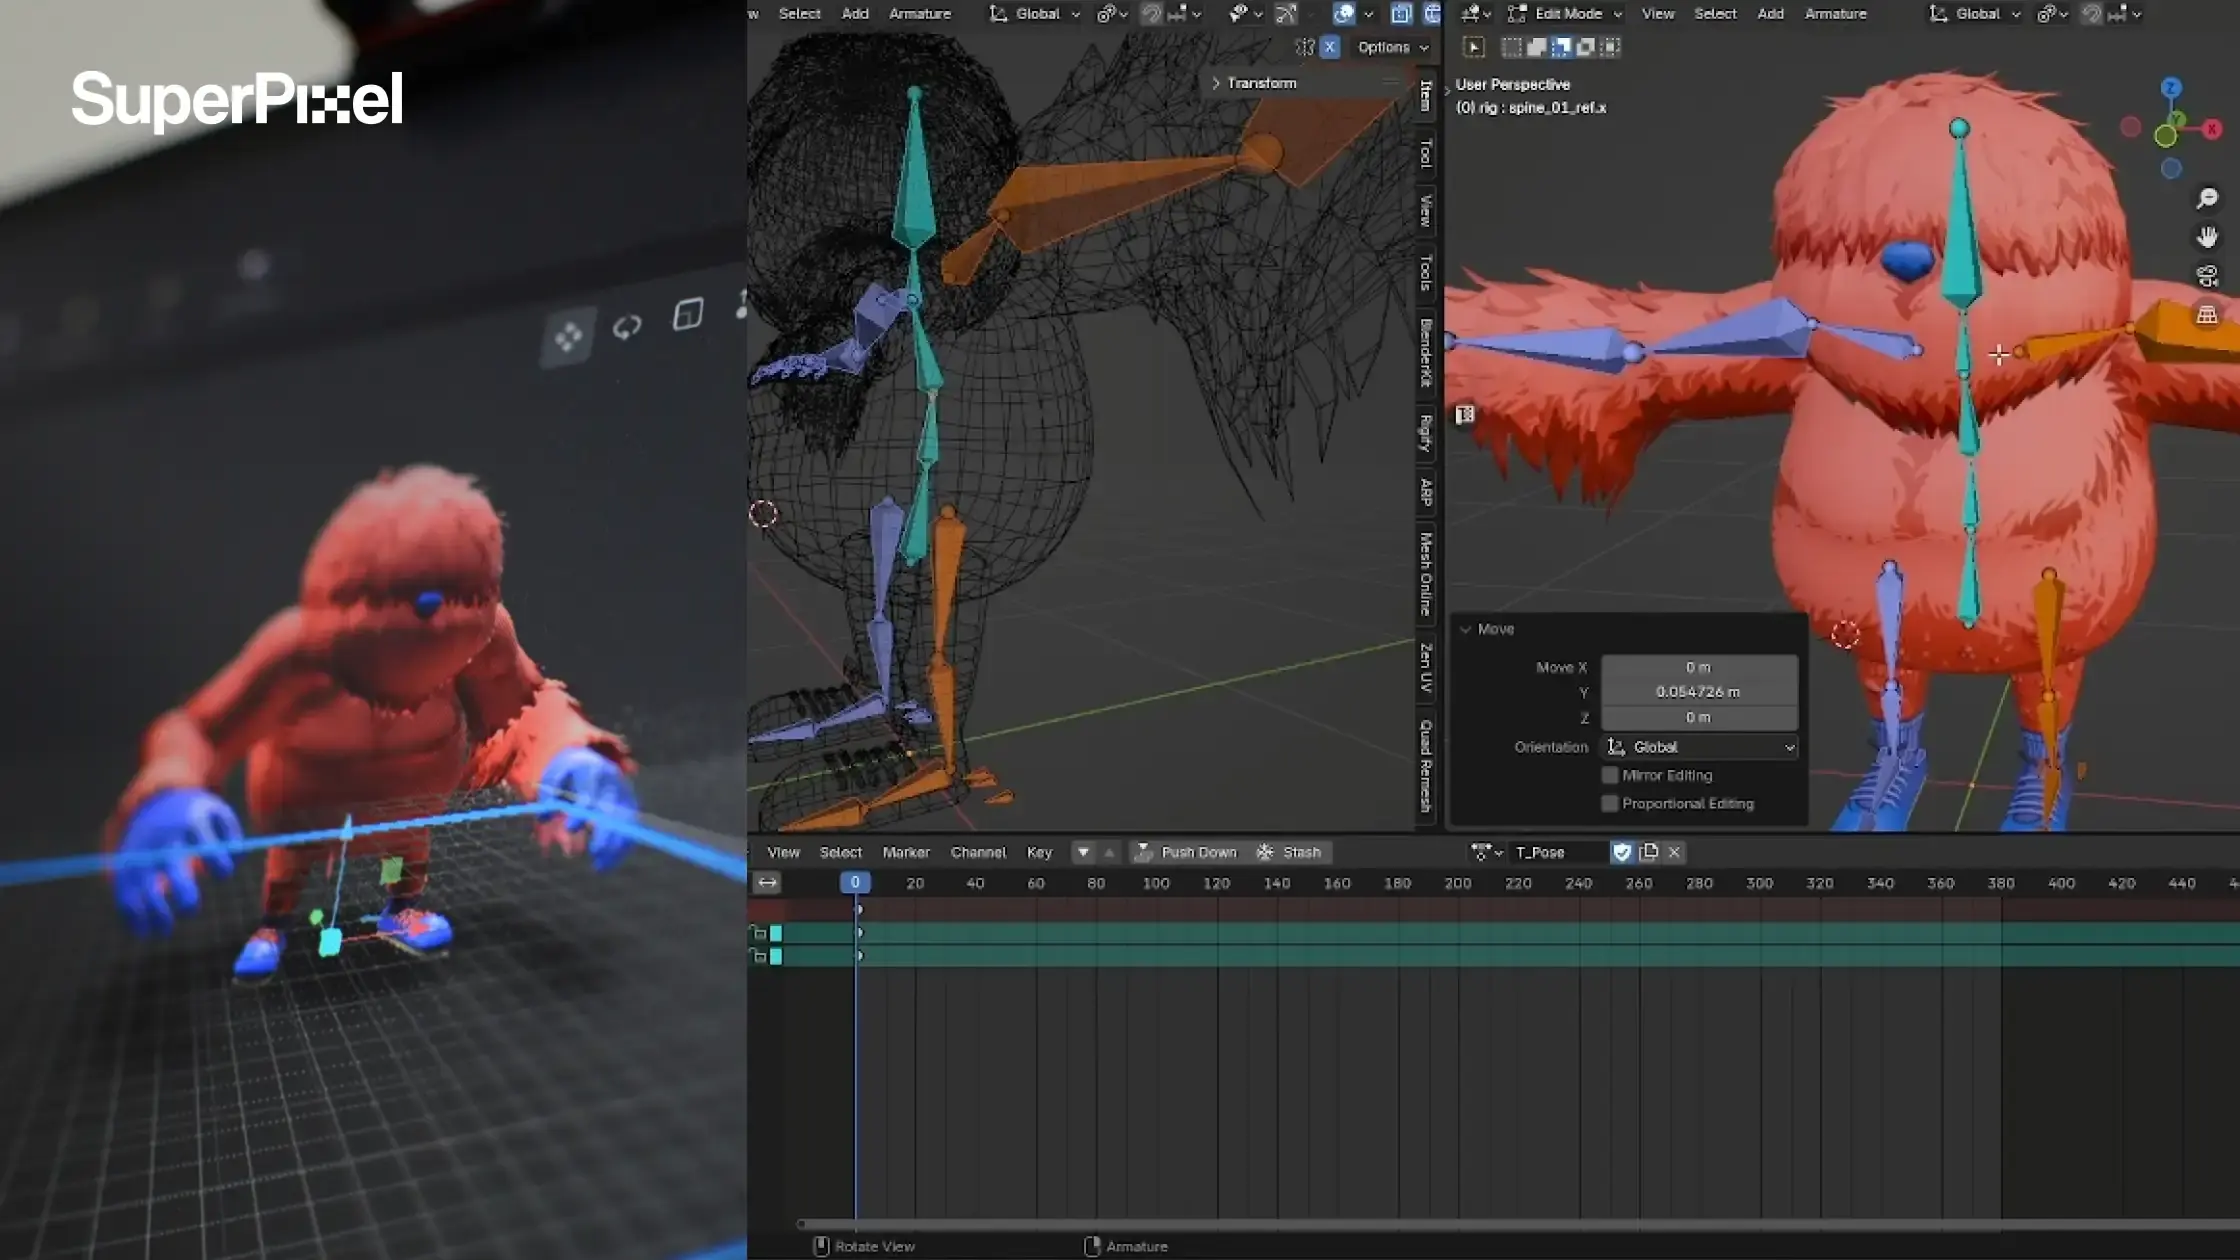
Character rigging is the process of creating a rig, which is a skeleton made up of bones, joints, and controllers to animate a 3D model. Think of it like a digital puppet setup, animators move the controls, and the character follows.
The rigging process typically involves creating a skeleton for the 3D model, which is made up of interconnected joints and bones. These joints sit at real movement points like shoulders, knees, and wrists, so the motion feels natural.
The creation of a rig typically involves building a skeletal structure made of bones or joints and binding the model to those joints. Once the skeleton exists, the mesh gets attached so it follows every move.
The process of rigging involves creating a skeletal structure made of bones or joints and binding the model to those joints, and that binding step is what makes the surface move with the skeleton instead of sliding around.
Rigging links a mesh to a hierarchical structure of bones, allowing for complex movements like walking and blinking. That hierarchy matters because motion needs to flow cleanly from parent joints to child joints like spine to neck to head without breaking.
And if your project is headed into real-time like games or interactive content, that hierarchy becomes even more important.
Effect of Weight Painting
Once the skeleton is in, the real “does this look good?” moment starts. The mesh has to be attached and tuned so the character bends nicely during animation, not like it’s made of rubber.
Controlling how the character bends
Skinning is the process of binding the 3D model’s mesh to the digital skeleton. When a joint moves, you want the nearby mesh to follow cleanly.
Skinning defines which part of the mesh moves with which bone, ensuring realistic deformations. Easy example: when an elbow bends, the vertices around the elbow should move with it, while the rest of the arm stays stable.
Accurate weight painting is needed for a character model to deform correctly when animated. Weight values decide how strongly each vertex reacts to different bones basically who’s “in charge” of pulling that part of the mesh.
Accurate weight painting is needed for a rigged character model to deform correctly when animated. If the weights are off, joints can collapse, stretch, or pinch in a way that instantly looks wrong.
Weight painting is a crucial step in the rigging process that affects how a character deforms during animation. It controls how much influence each joint has on specific vertices so bends feel smooth instead of crunchy.
Kinematics in rigging
Rigs aren’t just “bones in a model.” They also use math-driven systems that control how joints behave, so animators can pose characters faster and keep motion clean.
Motion systems used in character rigs
Kinematics consists of Forward Kinematics (FK) and Inverse Kinematics (IK). These two systems give animators different ways to move a character, depending on the shot.
Forward kinematics is the process of manipulating a joint hierarchy from root to tip. That means animators rotate joints one by one—like shoulder → elbow → wrist, or hip → knee → ankle, until the pose looks right.
Forward kinematics involves manipulating a joint hierarchy from root to tip to create pleasing arcs in animation.
Forward kinematics (FK) is another technique used in rigging that involves manipulating a joint hierarchy from root to tip, and it’s usually the go-to when you want smooth, natural motion like a relaxed arm swing or a nice spine flow.
Inverse kinematics is the process of manipulating a joint hierarchy from tip to root. Instead of rotating each joint, animators grab the end point (hand or foot) and move it where it needs to be.
Inverse kinematics allows for positioning a joint hierarchy from tip to root, making it easier to lock a character’s hand or foot in place.
Inverse kinematics (IK) is a technique used in rigging to automate the movement of joints based on the position of a control point, which is why it’s super handy for contact moments like keeping a foot planted or a hand stuck to a prop.
Software used for 3D character rigging and animation
You’ll hear a lot of “We use Maya” or “We’re a Blender studio.” Cool. But software names alone don’t tell you if your character will hold up in motion.
What actually matters is whether the rig stays stable when things get real: a quick walk cycle, a close-up facial shot, a hand grabbing a prop, or that “can we tweak this pose?” request that always shows up late.
Autodesk Maya
Autodesk Maya is commonly used when projects need deeper character control and consistency, especially for facial work and performance-driven motion. It’s often chosen when the rig’s control function needs to stay predictable across lots of shots and revisions.
Blender
Blender is popular for flexible pipelines and fast iteration. It’s a great option when you want to explore variations quickly, test different elements of a character, and keep the workflow lightweight without slowing the whole team down.
3ds Max
3ds Max often appears in certain production and game workflows, especially when the wider asset pipeline already depends on it. In those cases, choosing 3ds Max can reduce handoff friction and keep the rig stable when assets move through different steps of production.
Cinema 4D
Cinema 4D shows up a lot in motion design workflows and stylized animation, where the visual language is graphic and design-led. It can be a comfortable fit when your character lives in a world of bold shapes and clean timing, and you want that motion-design feel.
At SuperPixel, we don’t start by asking which software you prefer. We start by asking what the character needs to do, where it needs to run, and what level of control the animation needs.
Then we pick the pipeline that matches those needs, and we keep refining it until the rig behaves reliably. If you want, I can share a simple checklist of the skills we look for during rig review so you can assess vendors with confidence, and it’s basically free to use.
Our Favorite Animated Videos by the Superpixel Team
Okay, quick tour. Here are a few Superpixel projects we keep coming back to, because they’re fun, they’re memorable, and they show how much the fundamentals matter.
People don’t usually think about the rigging artist behind the scenes or the tools we use, but that’s honestly where a lot of the “why does this feel so good?” comes from.
1. Health Promotion Board: Use Antibiotics Right
This one was made with Little Red Ants studio and DDB, and the message was super clear: antibiotics don’t kill flu viruses.
We got to turn the idea into a 3D character that felt almost real, without making it creepy. When a character is that close to camera, you lean on industry standard workflows hard, because tiny things in motion become very obvious.
2) Mandai Ranger Buddies
Mandai Ranger Buddies is all about getting kids into everyday missions around conservation and sustainability. The vibe needed to be warm, bright, and easy to follow.
This is also the type of project where consistency matters, because you want the character to feel like the same “buddy” every time you see them, not slightly different from scene to scene.
3) Giant Plush Toys: The Goodness Gang
Giant had these adorable fruit and veggie plushies, and we basically got the job of making them feel alive. Sounds simple, but if the timing is off by even a little, “cute” turns into “kinda weird” fast.
So yep, back to the fundamentals again: clean poses, nice rhythm, and movement that feels intentional.
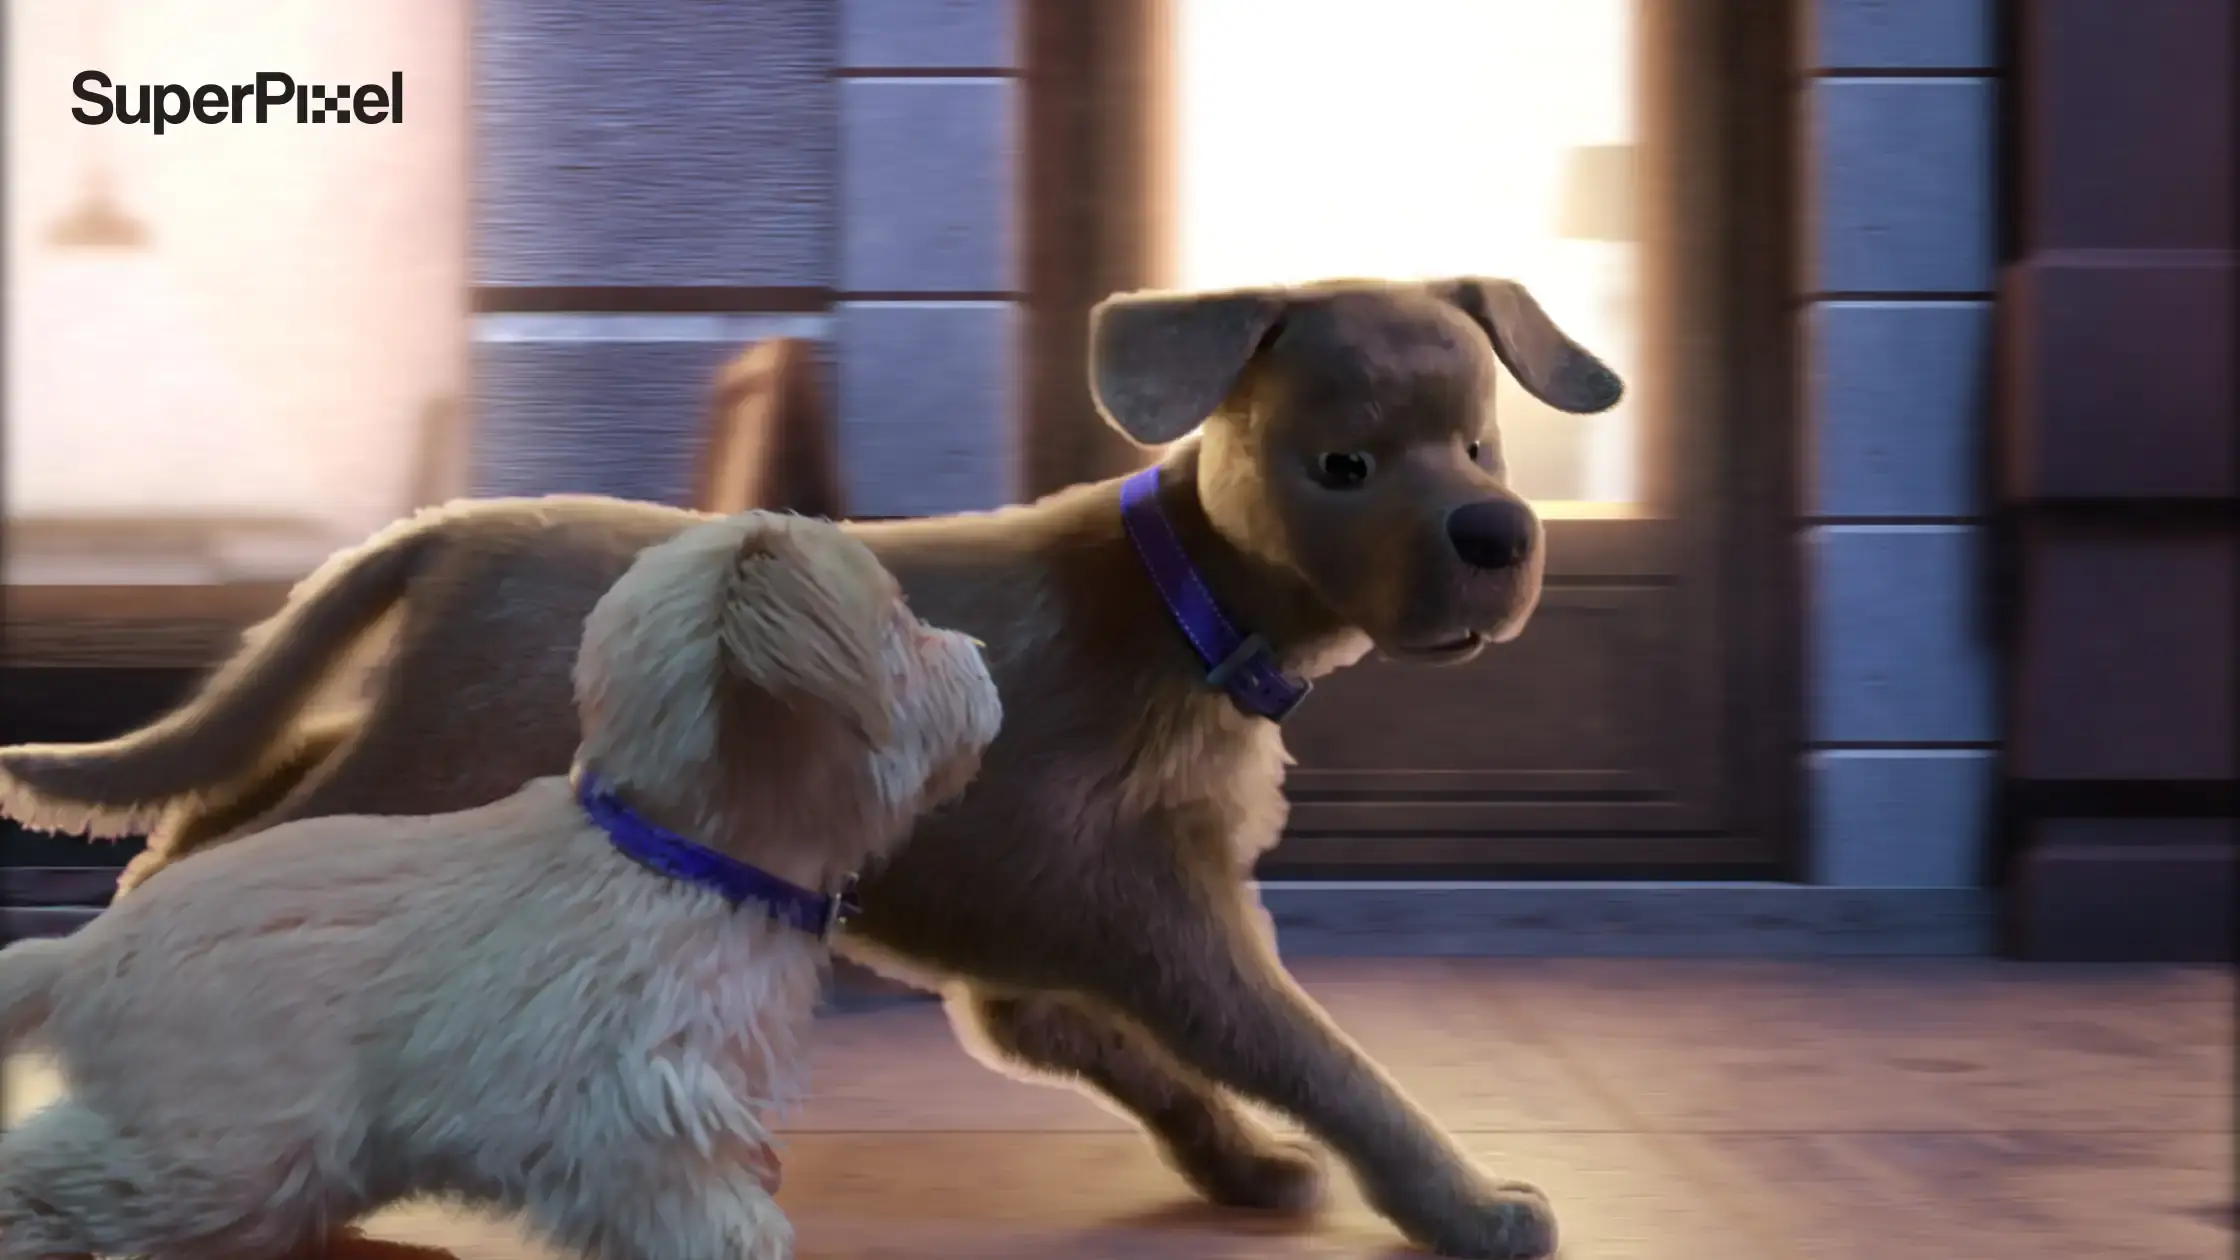
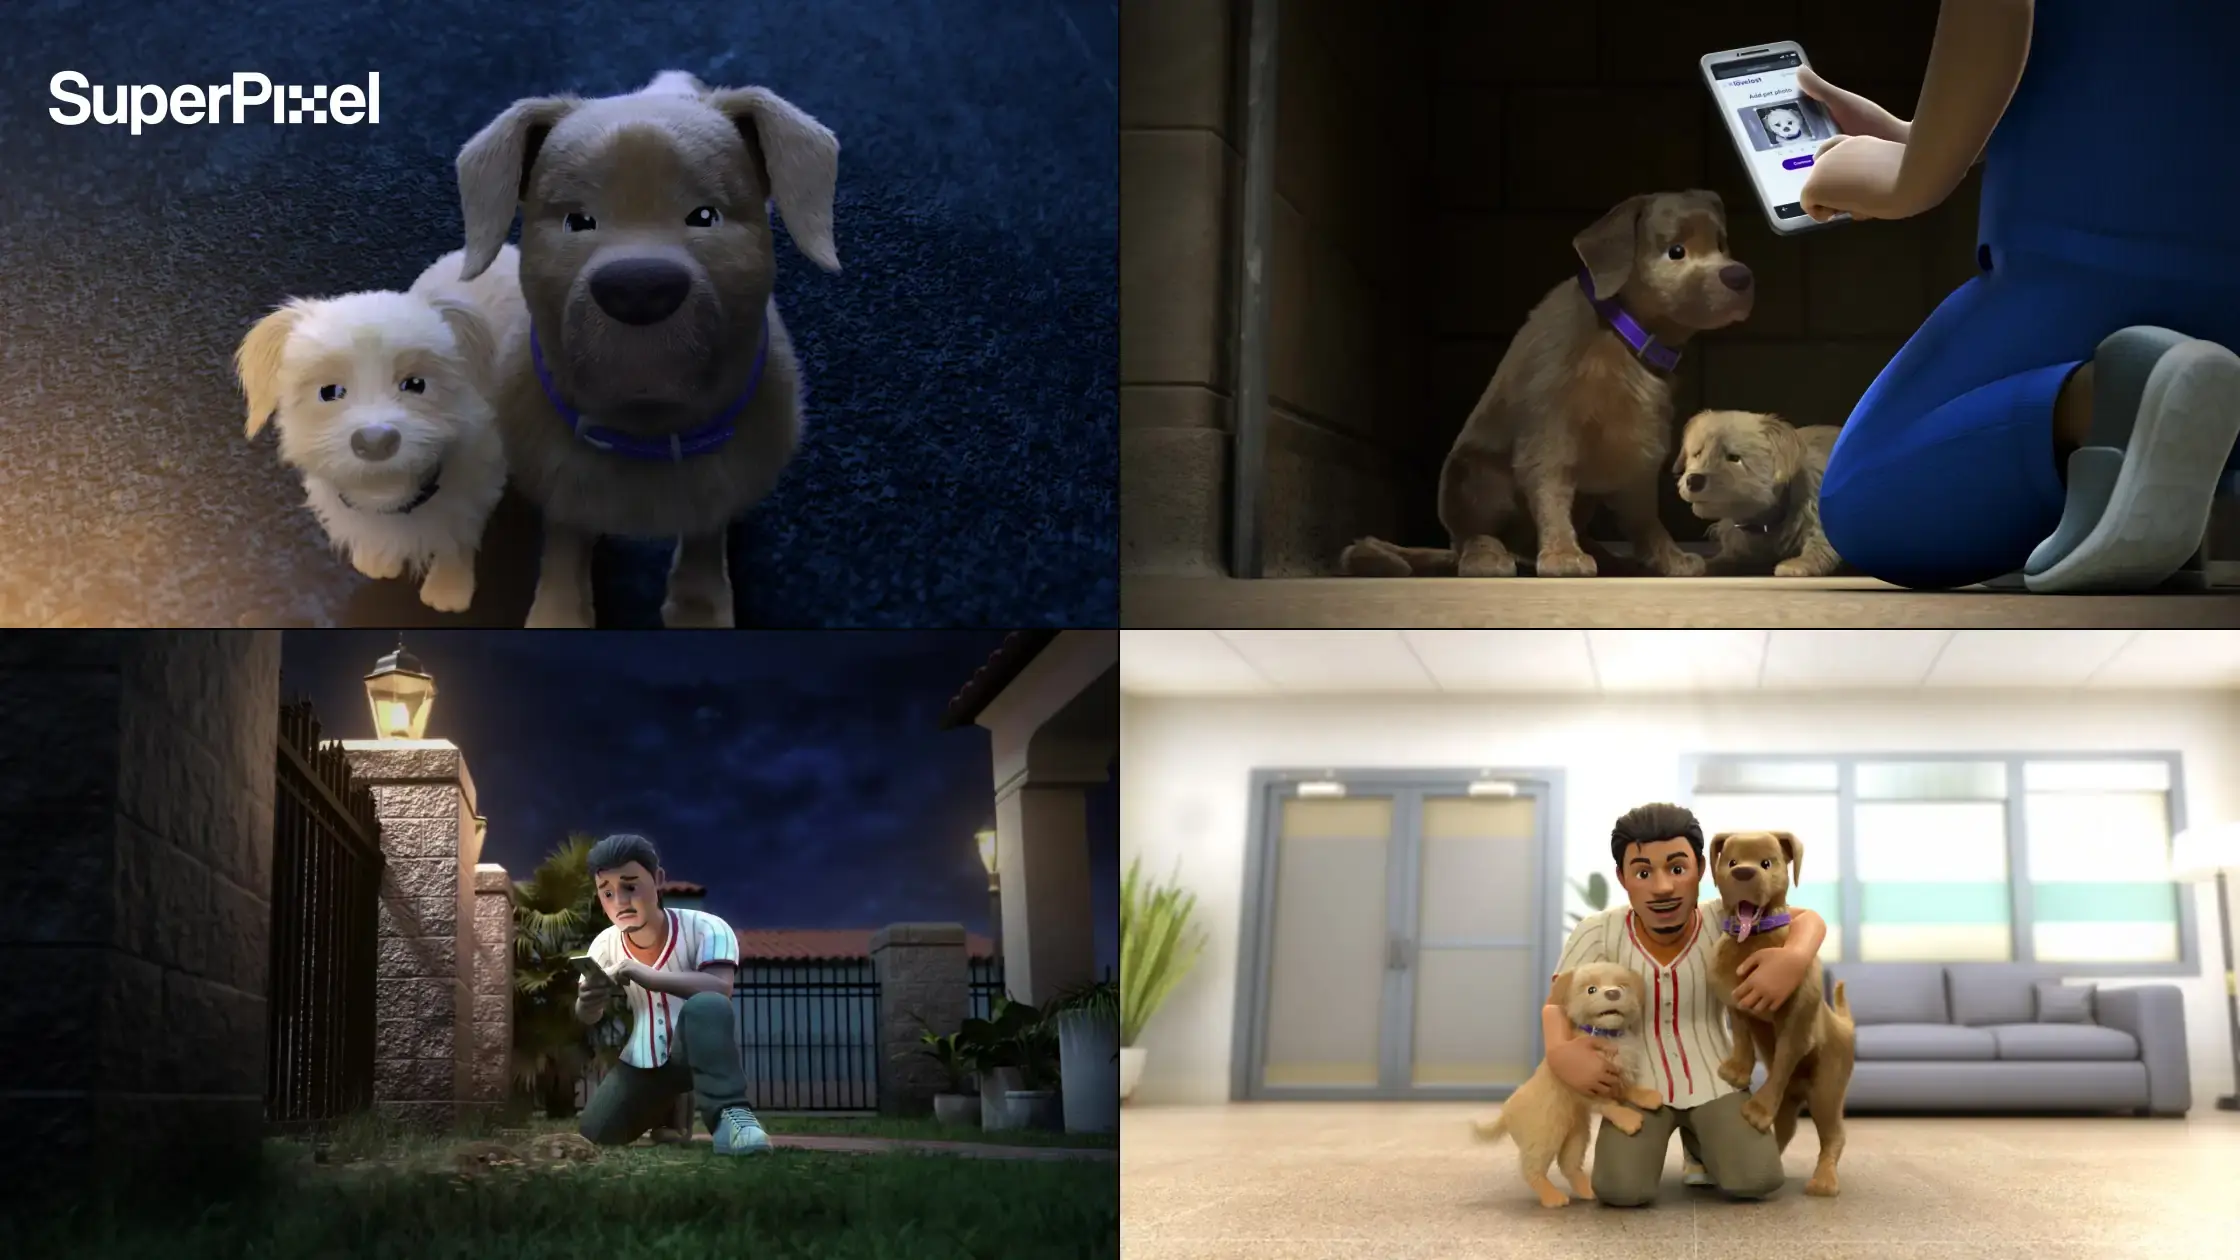
4) Petco Love Lost – Fireworks Fiasco
This is a sequel to “My Ruff Day,” and it’s one of those stories that hits you right in the feelings. It reminds people Petco’s platform helps reunite lost pets with their families, especially during the 4th of July when fireworks can spook animals.
For emotional stories, the character performance has to be readable, and that means the rig and controls can’t fight the animators.
5) 365 Cancer Prevention Society
Hopey is a sunflower mascot we animated for 365CPS. It’s a gentle story with a little girl, her grandmother, and a wilted sunflower, and the message is basically “small daily actions matter.”
This one isn’t about flashy movement, it’s about warmth, pacing, and making the emotion land.
Next steps you can take this week
Understanding 3d character rigging and animation helps businesses make better decisions when commissioning animation projects. Rigging determines how characters move, how quickly animation can be produced, and how believable the final result appears on screen.
Strong rigs reduce production issues and allow characters to perform consistently across different scenes and campaigns. For brands investing in animated storytelling, rigging forms the technical foundation that supports the creative side of animation.
When the rig is built correctly, animators gain the freedom to focus on performance, storytelling, and visual impact.
Next, keep it simple: write a brief that says where the character will live, how close the camera gets, and how often you’ll reuse it, then ask for a quick rig test like a walk cycle plus a few facial poses.
That’s how we run it at SuperPixel too, from rigging through 2D/3D animation and explainer videos, so issues get caught early and your character’s performance stays the main event.